How to Set Up a QR Code Contact Hub for Digital Networking
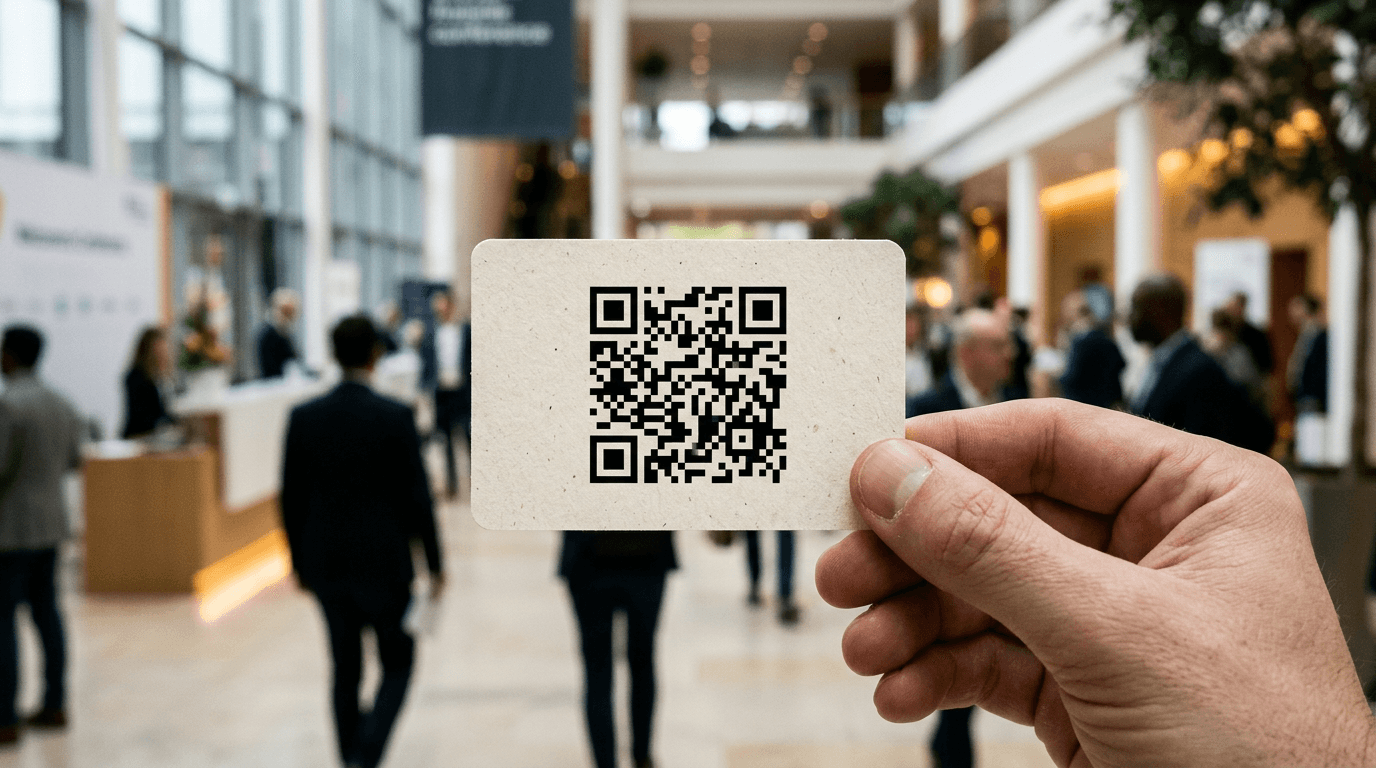
Picture a crowded industry conference in Berlin. You hand a prospective client your newly printed business card. They open their smartphone camera, scan the code, and their device immediately attempts to download a raw, unformatted data file that their specific mail client refuses to parse. They stare at an error screen, you apologize, and the networking momentum is entirely dead. Establishing a reliable qr code contact flow is not about picking the first generator you find in search results; it is about controlling the payload, the optical contrast, and the routing architecture so that a scan always results in a usable connection.
Quick Summary
Building a digital networking pipeline requires separating the optical trigger from the data payload. A reliable setup routes users through a dynamic URL rather than encoding raw contact data directly into the printed matrix. This architectural choice keeps the code optically simple, allows for post-print updates, and provides a mobile-native landing environment where the recipient can save details without encountering software parsing errors.
- Route scans to a dynamic mobile hub rather than static data to minimize matrix density.
- Maintain a minimum four-module quiet zone and use matte print finishes to ensure rapid optical scanning.
- Provide human-readable fallback URLs for environments with restrictive mobile device policies.
- Implement error correction level M or Q to survive physical print damage without crowding the code.
Table of Contents
- 1. Map the Scanning Destination
- 2. Generate and Encode the Payload
- 3. Size and Print for Optical Contrast
- 4. Integrate Fallback Navigation
- 5. Track the Scanning Analytics
- Common Pitfalls & Troubleshooting
- FAQ
1. Map the Scanning Destination
The foundational decision in creating a digital connect pipeline is determining what happens immediately after the camera registers the printed code. You have two structural choices: encode the raw contact data directly into the image (a static code), or encode a URL that routes the user to a hosted destination (a dynamic code).

Encoding raw vCard data directly into the QR matrix severely limits your flexibility. If your phone number changes or you rebrand your services, every physical card or printed display instantly becomes obsolete. Furthermore, raw data requires a highly dense grid. A standard vCard containing a name, title, company, two phone numbers, an email, and an address forces the generator to pack thousands of individual modules into the square area. This creates a dense image that demands superior camera resolution and perfect lighting to read accurately. Older smartphone cameras or lower-tier mobile lenses routinely fail to resolve these tight grids.
Instead, route the scan to a mobile-optimized landing page. This separates the physical code from the destination data. When the user scans, their browser opens a lightweight hub containing your contact file, portfolio, and social channels. Instead of managing complex server configurations, many professionals deploy centralized platforms like KODE.link - One Link for Everything to consolidate their contact details, shop pages, and social channels behind a single scannable destination.
The mistake people actually make here is assuming the default static generation offered by free tools is universal. They generate a static vCard version 2.1 code, print a thousand flyers, and discover months later that modern iOS devices occasionally truncate the notes field or mangle international character sets because the parsing standards have quietly shifted from version 2.1 to 3.0 and 4.0. Routing through a maintained URL delegates the parsing updates to the browser rather than the physical print.
2. Generate and Encode the Payload
Once the destination architecture is set, you must configure the QR code's error correction level before generating the matrix. The matrix is not just a random assortment of squares; it consists of three large Finder Patterns in the corners, smaller Alignment Patterns to correct perspective distortion, Timing Patterns that act as coordinate axes, and the actual data blocks. Error correction uses the Reed-Solomon algorithm to add redundant data blocks, allowing a scanner to mathematically reconstruct the URL even if part of the printed code is torn, smudged, or covered by a graphic.
Generators typically offer four levels of correction: L, M, Q, and H. Each level represents how much of the code can be physically destroyed while remaining scannable. However, this redundancy comes at a cost. Higher correction forces the generator to pack more data modules into the same square area, creating a denser, harder-to-scan image. If you plan to embed a central brand logo in your code, you are deliberately obliterating data modules, which requires compensating with a higher error correction setting to remain functional.
Practical rule: Keep the payload URL under 50 characters and use Level Q error correction if you plan to embed a central logo over the matrix.
Treating error correction as a substitute for structural integrity causes the scan to fail immediately. Users apply Level H correction, place a massive custom logo in the center that covers or intrudes upon the three large square Finder Patterns, and assume the algorithm will fix the reading errors. Error correction only reconstructs missing data blocks; if you obscure the corner alignment squares, the camera cannot orient the image in the first place, and the scan fails entirely.
3. Size and Print for Optical Contrast
The physical production of the code dictates its real-world utility. A QR scanner relies entirely on detecting sharp transitions between light and dark modules. If the contrast is too low, or if the code is printed too small for the camera's focal length, the autofocus will hunt endlessly without triggering the action.
For hand-held items like business cards or brochures, the absolute minimum physical size is 2 by 2 centimeters (roughly 0.8 inches). Below this threshold, older smartphone cameras with narrower apertures struggle to resolve the individual data squares. For signage, you must calculate size based on the expected scanning distance. A reliable benchmark is a 10:1 ratio. If a user is expected to scan a convention banner from two meters away, the code must be at least 20 centimeters wide.
Furthermore, the code must be surrounded by a "quiet zone" - a mandatory blank margin equal to the width of four data modules. This isolation allows the scanner software to separate the code from surrounding text or background graphics.
Printing the code on heavily coated, glossy stock creates glare that blocks the scan. While high-gloss UV finishes look premium, they act like mirrors under convention center lighting or smartphone camera flashes. This creates a spectral highlight - a glaring white spot that physically washes out the dark modules on the camera sensor. The code has perfect contrast in the design file but zero contrast in the real world. Always specify a matte finish for any surface carrying a scannable grid.
4. Integrate Fallback Navigation
Relying entirely on optical scanning ignores the reality of broken device cameras, poor ambient lighting, and aggressive corporate device policies that disable native QR parsing. Your printed material must provide a secondary route to the exact same destination.
This means printing an explicitly typed internet link directly beneath or alongside the QR matrix. The URL should be custom, short, and memorable. Do not print the full routing address if it includes tracking parameters. Instead, use a clean vanity domain or a dedicated short-link structure (e.g., yourdomain.com/connect). If the printed material is actually a digital asset being displayed on a screen, such as a slide in a webinar presentation or a PDF portfolio, the fallback should be an interactive button. When designing that digital interface, using a standard external-link icon next to the text sets the user expectation that tapping the text will open a new browser tab rather than turning the page.
Some professionals attempt to replace the fallback link with Near Field Communication (NFC) chips embedded in the card. While NFC provides a seamless tap-to-connect experience, it frequently fails when the recipient is using a thick phone case or does not know exactly where their device's NFC antenna is located.
Printing a 60-character tracking URL as a visual fallback guarantees no one will use it. Nobody will manually type a string filled with random alphanumeric characters into their mobile keyboard. The fallback must be effortlessly human-readable. If you rely on a complex backend routing system to manage traffic, you must configure a clean, short redirect link to serve as the visual fallback.
5. Track the Scanning Analytics
You cannot optimize a networking strategy without knowing which physical assets actually drive traffic. By routing your scans through a tracking layer before they hit the final destination, you gain visibility into scan volumes, operating systems, and geographic locations.
This requires appending distinct query parameters, such as UTM codes, to the URL encoded in each specific batch of prints. The code on your trade show badge must contain a different parameter string (like ?utm_source=print&utm_medium=badge) than the code printed on your storefront window, even if they route to the exact same landing page. This segmentation allows you to identify whether your face-to-face networking yields more engagement than your static retail displays. When you attempt to link internet traffic data to physical networking, granular parameters are the only mechanism that bridges the offline-to-online gap.
The mistake people actually make here is attempting to attach analytics pixels directly to a static file download. You cannot run Google Analytics or Facebook tracking scripts inside a raw .vcf file. Tracking requires an interstitial web page environment where client-side scripts can execute. If you skip the landing hub and force a direct file download, you lose all visibility into the user's behavior post-scan. The server will log that a file was requested, leaving you entirely blind to whether the user actually saved the contact, browsed your portfolio, or simply deleted the prompt.
Common Pitfalls & Troubleshooting
Diagnosing connectivity failures requires isolating the hardware, the software parser, and the network routing. When a scan fails, check these specific symptoms to determine the root cause.
1. The camera ignores the code completely
- Symptom: The user points their camera at the print, but no prompt appears. The camera autofocuses but refuses to recognize that a matrix is present.
- Fix: Inspect the quiet zone and optical contrast. The most frequent cause is background graphics bleeding into the mandatory four-module white border around the code, or a glossy finish reflecting overhead light. Reprint the code with a strict, unbroken white margin on matte stock.
2. The scan triggers, but the browser returns a connection error
- Symptom: The phone recognizes the code, opens the default web browser, but displays a "404 Page Not Found" or connection timeout error.
- Fix: You have likely used a third-party dynamic generator and allowed the subscription to lapse, or the trial period expired. The provider has disabled the redirect layer. You must either renew the service to reactivate the routing, or replace the physical prints, as the URL hardcoded into the matrix is permanently broken.
3. The payload delivers unformatted text instead of a contact card
- Symptom: After scanning and routing to the destination, the user's screen fills with raw code starting with
BEGIN:VCARDinstead of prompting them to save a contact. - Fix: The server hosting the raw contact file is returning the incorrect MIME type. It is serving the file to the browser as
text/plainrather thantext/vcard. You must adjust the server headers on your hosting environment so the mobile browser knows to hand the file over to the device's native address book application.
4. The code scans quickly on newer devices but fails on older ones
- Symptom: One flagship device reads the code instantly; an older or lower-tier device fails to trigger entirely.
- Fix: The code matrix is too dense. You have encoded too much raw data, requiring a massive grid. The differing camera hardware capabilities are exposing this flaw. Switch to a dynamic URL configuration to drastically reduce the number of modules in the grid, making it universally scannable across older optical sensors.
FAQ
Do I need a dynamic or static code for physical materials?
You need a dynamic setup. Static codes bake your current information directly into the printed pixels; if you change your email address or job title, every card you have already handed out becomes permanently broken. Dynamic codes route the user through a fixed URL that you control, allowing you to update the destination data at any time without changing the physical print.
What is the ideal physical size for a printed code?
For handheld materials like brochures and cards, never print a code smaller than 2 by 2 centimeters. For signage, the size must scale with the scanning distance. A standard calculation is a 10:1 ratio. If the user will scan the code from 100 centimeters away, the code should be at least 10 centimeters wide to ensure the camera can clearly resolve the alignment patterns.
Can I track exactly who scanned my printed material?
No. Standard analytics track the scanning event, not the identity of the person scanning. You can log the time, the approximate geographic region based on the IP address, and the device operating system, but you cannot extract the scanner's personal name or phone number unless you route them to a landing page that explicitly requires them to fill out a lead capture form.
Why does my custom-colored code fail to scan on some phones?
Optical sensors rely on stark contrast to distinguish the data modules from the background. If you use low-contrast combinations like light gray on white, or dark blue on black, the camera software cannot locate the necessary patterns. Furthermore, if you invert the colors (white code on a black background), many native camera applications will fail to recognize the image unless the software automatically flips the color values in memory. Always ensure a dark foreground against a light background.